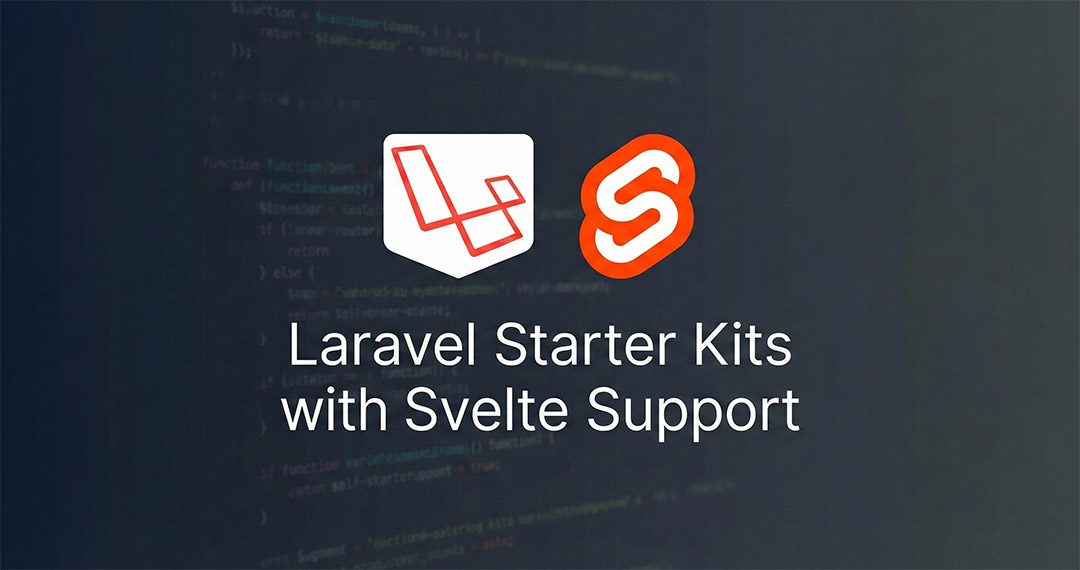

Laravel starter kits now officially support a Svelte based frontend stack, allowing developers to build modern full stack applications with minimal setup. This guide covers real installation commands, configuration steps, project workflow, authentication setup, and practical usage so you can actually start using it immediately.
Requirements Before Installation
Make sure your system has:
PHP 8.2 or newer Composer installed Node.js 18 or newer Git installed
These are required for Laravel installer and frontend asset compilation.
Install Laravel Installer
If you do not already have the Laravel installer, run:
composer global require laravel/installerAfter installation, ensure Composer global bin directory is in your PATH so the laravel command works.
You can test with:
laravel --versionCreate New Laravel Project With Svelte Starter Kit
Run the Laravel installer:
laravel new myappDuring the interactive setup you will be prompted to choose:
Starter kit → select Svelte Testing framework if needed Authentication options Database configuration
The installer automatically installs:
Inertia stack Svelte frontend Tailwind CSS Authentication scaffolding Vite configuration
This removes most manual setup work.
Install Frontend Dependencies
Move into the project directory:
cd myappInstall Node dependencies:
npm installStart development build:
npm run devThis enables hot reload for frontend development.
Run Laravel Development Server
Start Laravel server:
php artisan serveNow open your browser:
You should see Laravel running with Svelte frontend and authentication ready.
Database Setup
Configure your .env file:
DB_CONNECTION=mysql
DB_HOST=127.0.0.1
DB_DATABASE=myapp
DB_USERNAME=root
DB_PASSWORD=secret
Run migrations
php artisan migrateThis creates users table and authentication infrastructure.
Authentication Ready Out Of The Box
Starter kits include:
Registration page Login system Password reset Email verification support Session security
You can test immediately by registering a new user.
Understanding The Svelte Frontend Structure
Frontend code lives mainly in:
resources/js/
Typical structure:
Pages contains page level components Components reusable UI elements Layouts application layout wrappers app.js Inertia entry point
You can edit Svelte components directly and see instant changes with npm run dev.
How Backend And Frontend Connect
Laravel uses Inertia to connect backend routes to Svelte pages.
Example controller:
return Inertia::render('Dashboard', [ 'user' => auth()->user() ]);This sends data directly to a Svelte component without building a separate API.
Production Build Steps
Before deploying:
npm run build
php artisan config:cache
php artisan route:cache
php artisan view:cache
These optimize performance for production.
When Svelte Starter Kit Is Best Choice
This stack works especially well for:
SaaS dashboards Admin panels CMS systems Internal business tools Modern reactive web apps
If you want lightweight frontend without React or Vue complexity, Svelte is strong choice.
Common Mistakes Developers Make
Not running npm run build before deployment Skipping database migration setup Misunderstanding Inertia routing Ignoring asset caching
Avoiding these saves debugging time later.
Final Thoughts
Laravel starter kits with Svelte support provide one of the fastest ways to start a modern full stack application. With authentication, frontend tooling, and build pipeline ready out of the box, developers can focus directly on business features instead of configuration.
If you want a clean Laravel backend with modern reactive frontend and minimal setup friction, the Svelte starter kit is definitely worth using.